Insta360 Plugin For Adobe Premiere and After Effects Is Not Working

The Insta360 Adobe Plugin is not working.

I recently recorded a lecture I gave in Stuttgart using the latest Insta360 One camera. Since it is very difficult to stop an academic from talking the whole presentation took nearly one hour. The camera divided the recoding into several files, each around 4 GB. This is probably because they wanted to be compatible with the old FAT32 file system.

Their 360 Editing Software allows you to convert their proprietary  INSV files into MP4 files and they even have a batch processing option. But the software cannot merge multiple videos into one, which I desperately needed.

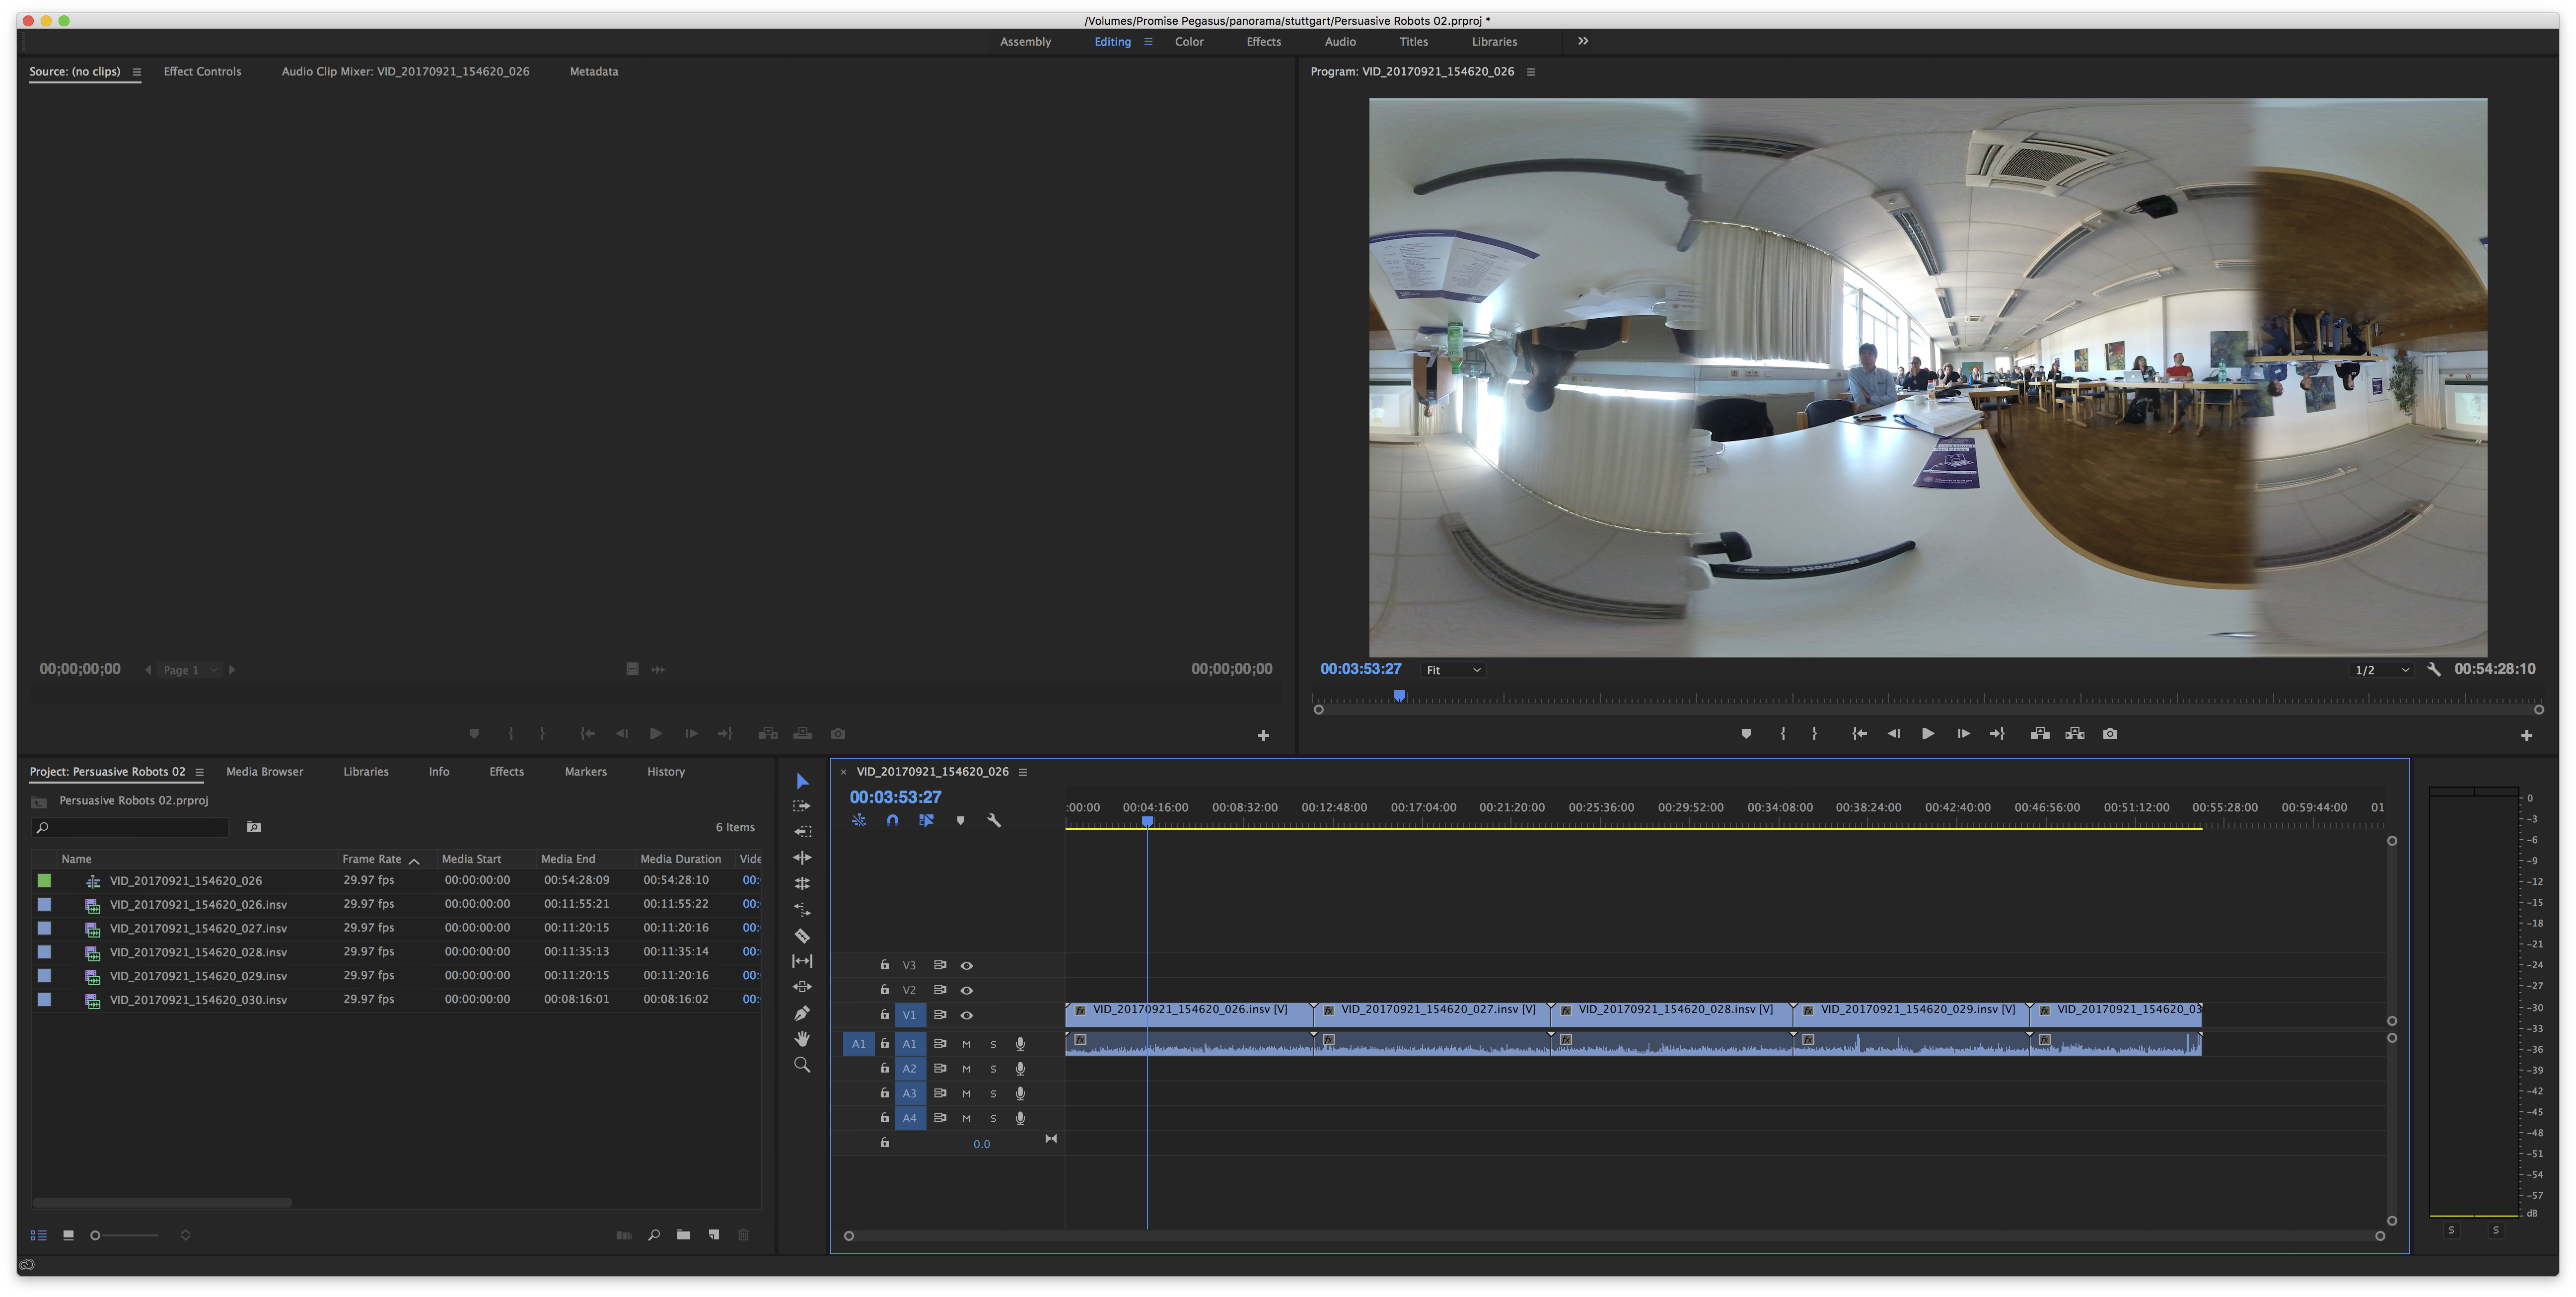
Insta360 is also offering a plugin for Adobe Premiere and After Effects. After installing the plugin I was able to import the INSV files into Premiere, but the image of one of the cameras was upside down. I contacted their technical support and they explained to me that the plugin is currently not working.

Insta360 Adobe Plugin failure

I ended up having to convert all the INSV files to MP4 first and then editing them into one movie in Premiere. I have to admit that this workflow is rather inconvenient and I hope that Insta360 will either enable their editing software to merge movies or that they get their Adobe plugin working again. This seems another example of Banana Technology, it ripens at the user.

Affordable Sound Both for Voice Recording

Recording a clear voice with no background noise is key for any video, audiobook or podcast. If you are limited in space and budget then you might consider building your own little sound proof voice recording box. I build this little gem from 6mm MDF and some acoustic foam taped to the box with double sided tape.

For the box you can create the drawing necessary for the laser cutter using online tools, such as Box Designer. It exports a PDF file which all the six faces clearly separated. If you are planning to make efficient use of your wood then you may prefer MakerCase. This service aligns the six sides so that they can be cut most efficiently from a piece of MDF. Here is the box drawing for laser cutter used for this design.

We attached rubber feed to the box and placed the microphone on an old mouse pad to isolate the microphone from any vibrations of the table, such as when a laptop is placed on it. Handles on the side allow for an easy transportation.

Here is a recording without the box. The microphone was placed just directly on the table:

This recording was made with the speaker sitting in front of the box speaking into the microphone.

The last example is with the speaker leaning into the box.

You will notice how all ambient noice is gone and how intimate the voice of the speaker sounds.

Tutorial on how to install and setup JInput on Mac OS X using Eclipse

Tutorial on how to install and setup JInput on Mac OS X using Eclipse. This will enable you to use different input devices in your Java programs.

Using mouse, keyboard, joysticks and other input devices in your Java software is much easier using JInput. Unfortunately, the documentation on how to install and setup the software is short and difficult to follow. I was struggling for days getting it to work with Eclipse on Mac OS X 10.12.6. My first approach was to use Maven to install JInput. The excellent M2Eclipse plugin provides good support for Maven. Unfortunately, the pre-configured Maven Repository does not include JInput. I was unable to configure Maven/Eclipse to connect to The Central Repository to download JInput from there. Okay, I am not a fulltime Jave programmer and maybe it would become clear to me eventually. In the meantime I got it to work manually. I hope that this tutorial will help you in your project. I used Mac OS X and I cannot guarantee it will work on any other platform.


Continue reading “Tutorial on how to install and setup JInput on Mac OS X using Eclipse”

3D LEGO Technic Connector

Connecting LEGO Technic beams in three dimensions remains a difficult task. While it has become easy to connect beams in one and two dimensions, it remains difficult to extend this to the third dimension.

I first designed a new LEGO Technic connector that features pins. The design was compact and stable, put the pins were too fragile. It was also very difficult to get the support material out from the holes.

My second design had no pins but still the option to firmly hold a technic beam. With this new 3D printed corner part it is possible to build a perfectly stable cube with a minimum of parts. The additional holes provide options for further strengthening the cube or to connect other parts to the cube.

The CAD model is available from Autodesk and GrabCAD.


TicTacToe Playing LEGO Mindstorms Robot Using Computer Vision

You can play TicTacToe with this LEGO Mindstorms EV3 robot. It uses three motors to drop the balls into the right field. It uses a NXTCam to view the board and then calculates the best move using a MiniMax Algorithm. All future moves are explored an rated according to their winning chances. The work is based on the TicTacToe code of Thomas Kaffka. An IR sensor detects your hand when you drop your ball. The robot is using red balls and the human player uses blue balls. The Java code is available over at Github. The building instructions are available for LEGO Digital Designer. I used the MinuteBot baseplate, which is useful for building static Technic/Mindstorms models.


LDD does not have all the required pars in its database. You will have to replace 22961 with 27940. You will also need to add a worm wheel 27938. In addition you should use a lamp to provide consistent lighting. I used a USB powered LED circular lamp the can be powered through the USB port of the EV3. I only had to take out the lens in the middle so that the camera fits through the hole. A rubber band holds the light in place. To calibrate the robot I added a little arm at the end of the base plate against which the robot arm rotates. The position of the camera can be centered on the board using the wrench and through sliding along the axles.

You can also find information about the robot over at Rebrickable. The inventory there is correct and complete. Except for the base plate of course.